
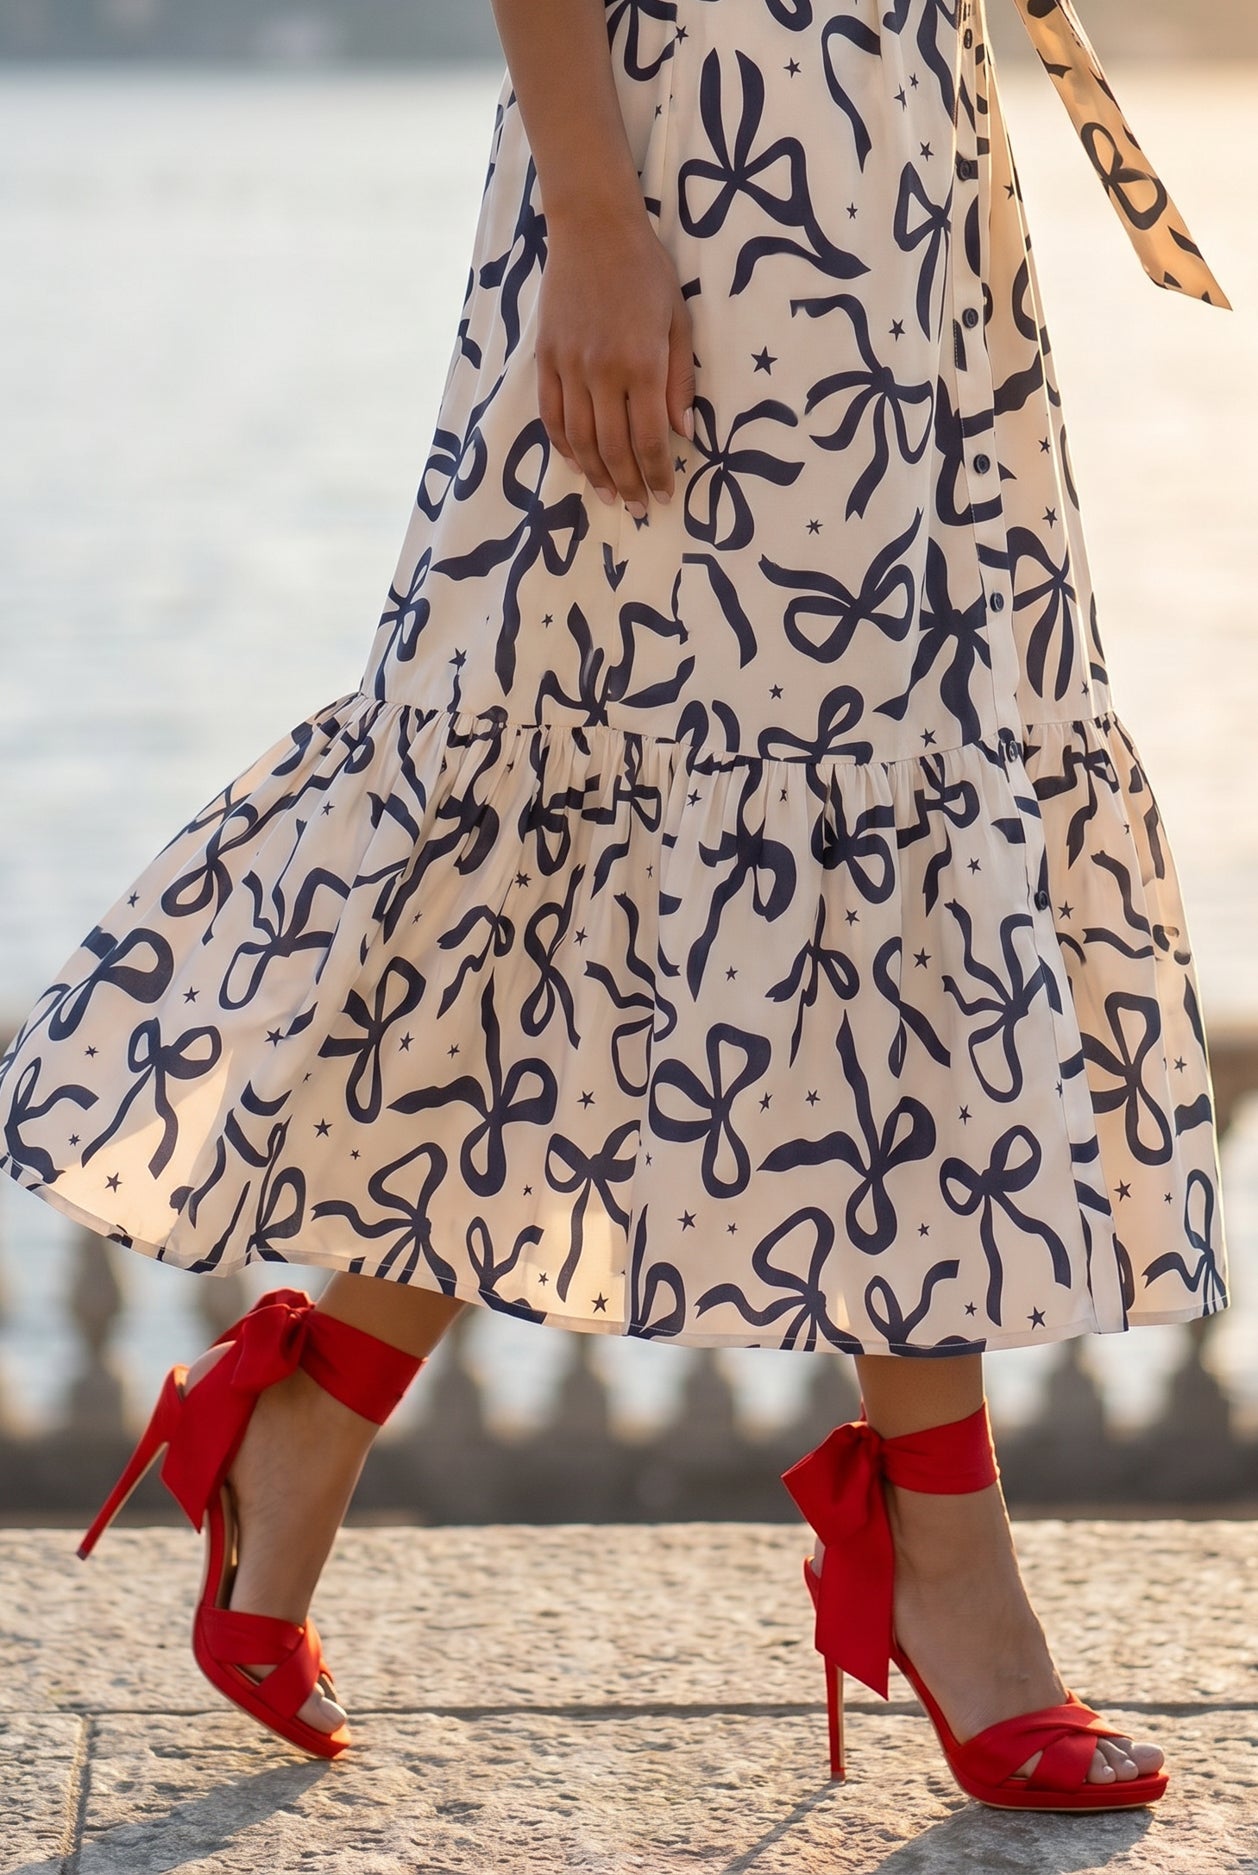

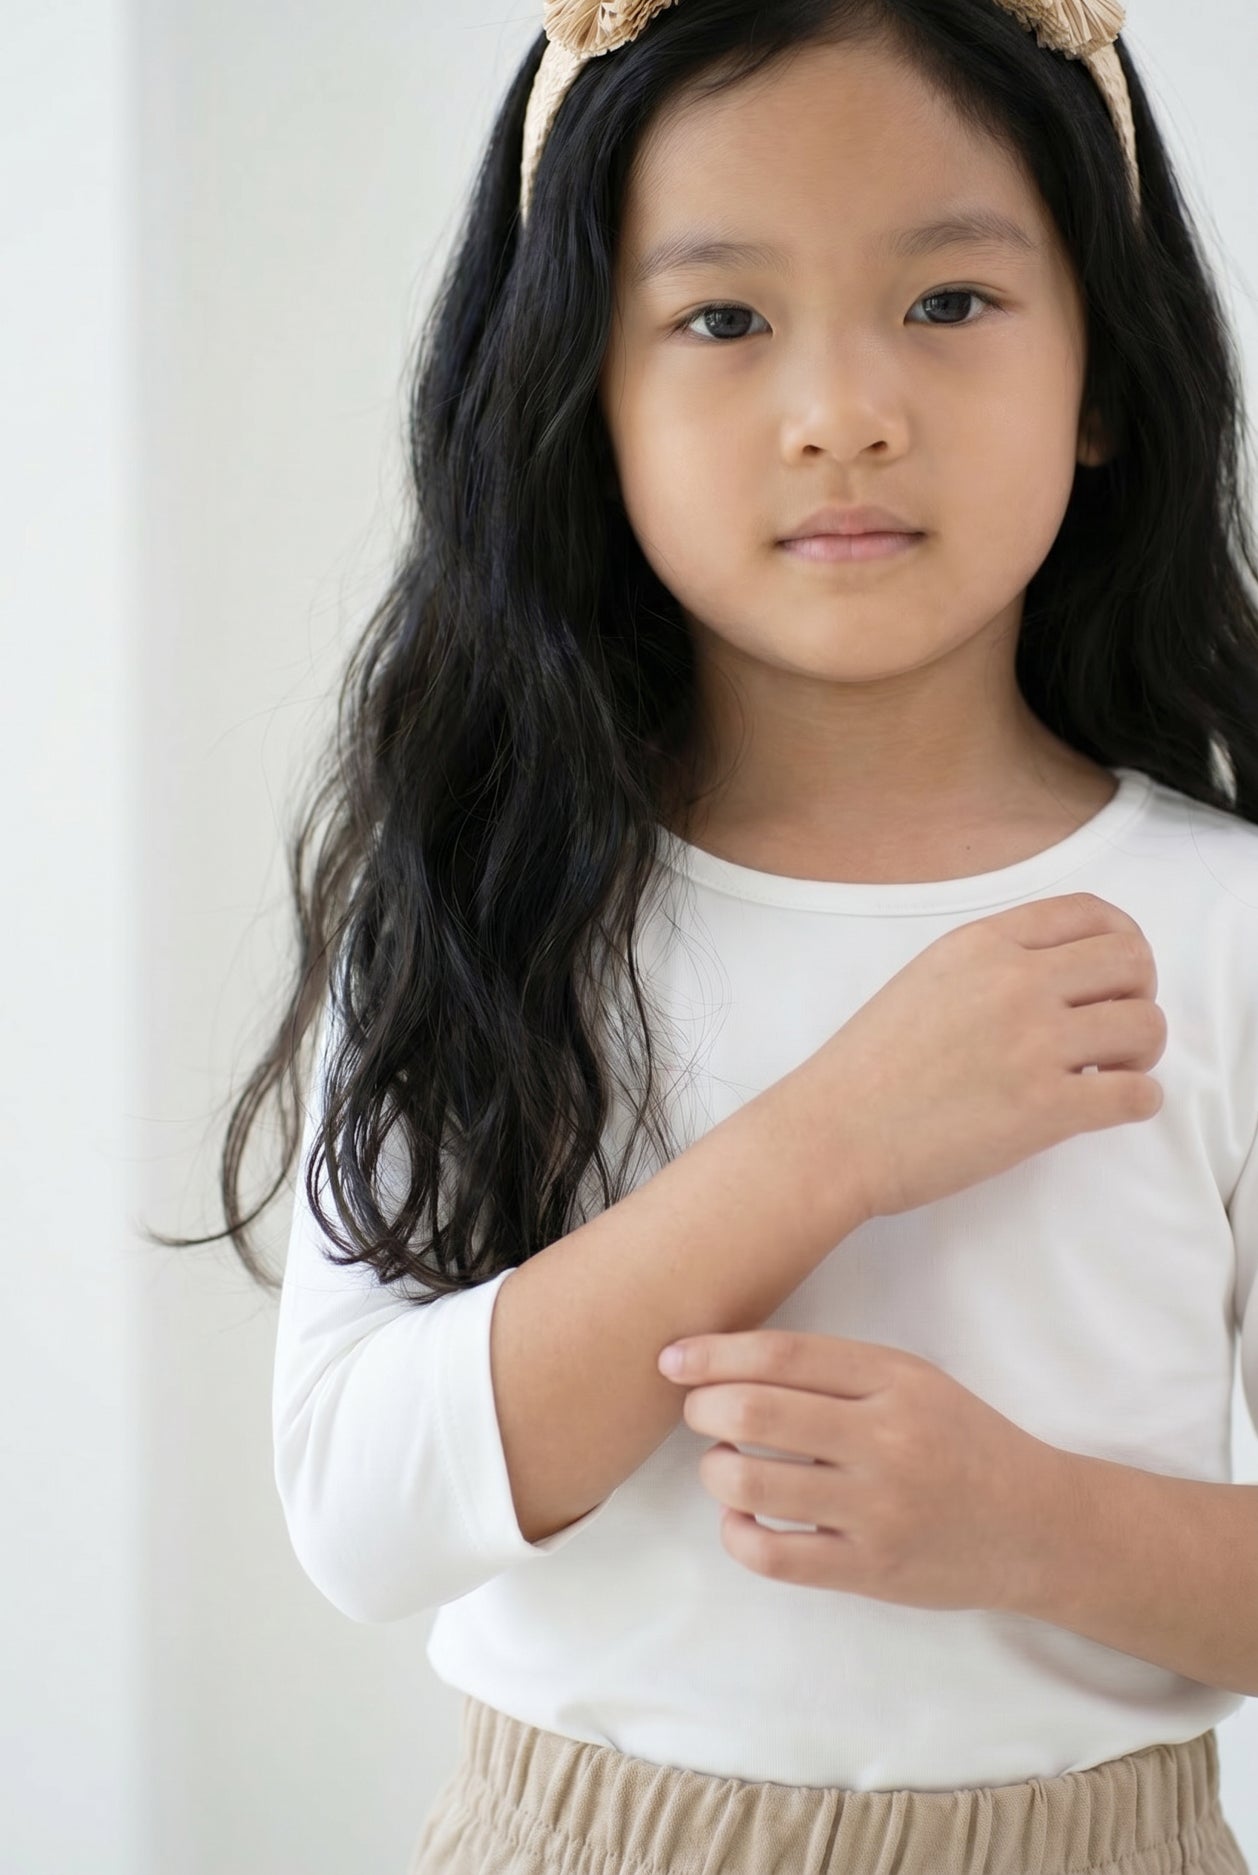


We are so excited for the upcoming release of our Girls Rachel Dresses — and to celebrate, I made 120 handmade headbands to coordinate perfectly with the collection!
If you love to sew (or want to try!), I’m sharing the exact bow headband tutorial I used. And if you’re not feeling crafty, don’t worry — ready-made headbands will be available on our website to perfectly match:
-
The matching Mommy Rachel Dress
-
The coordinating Bow Headband
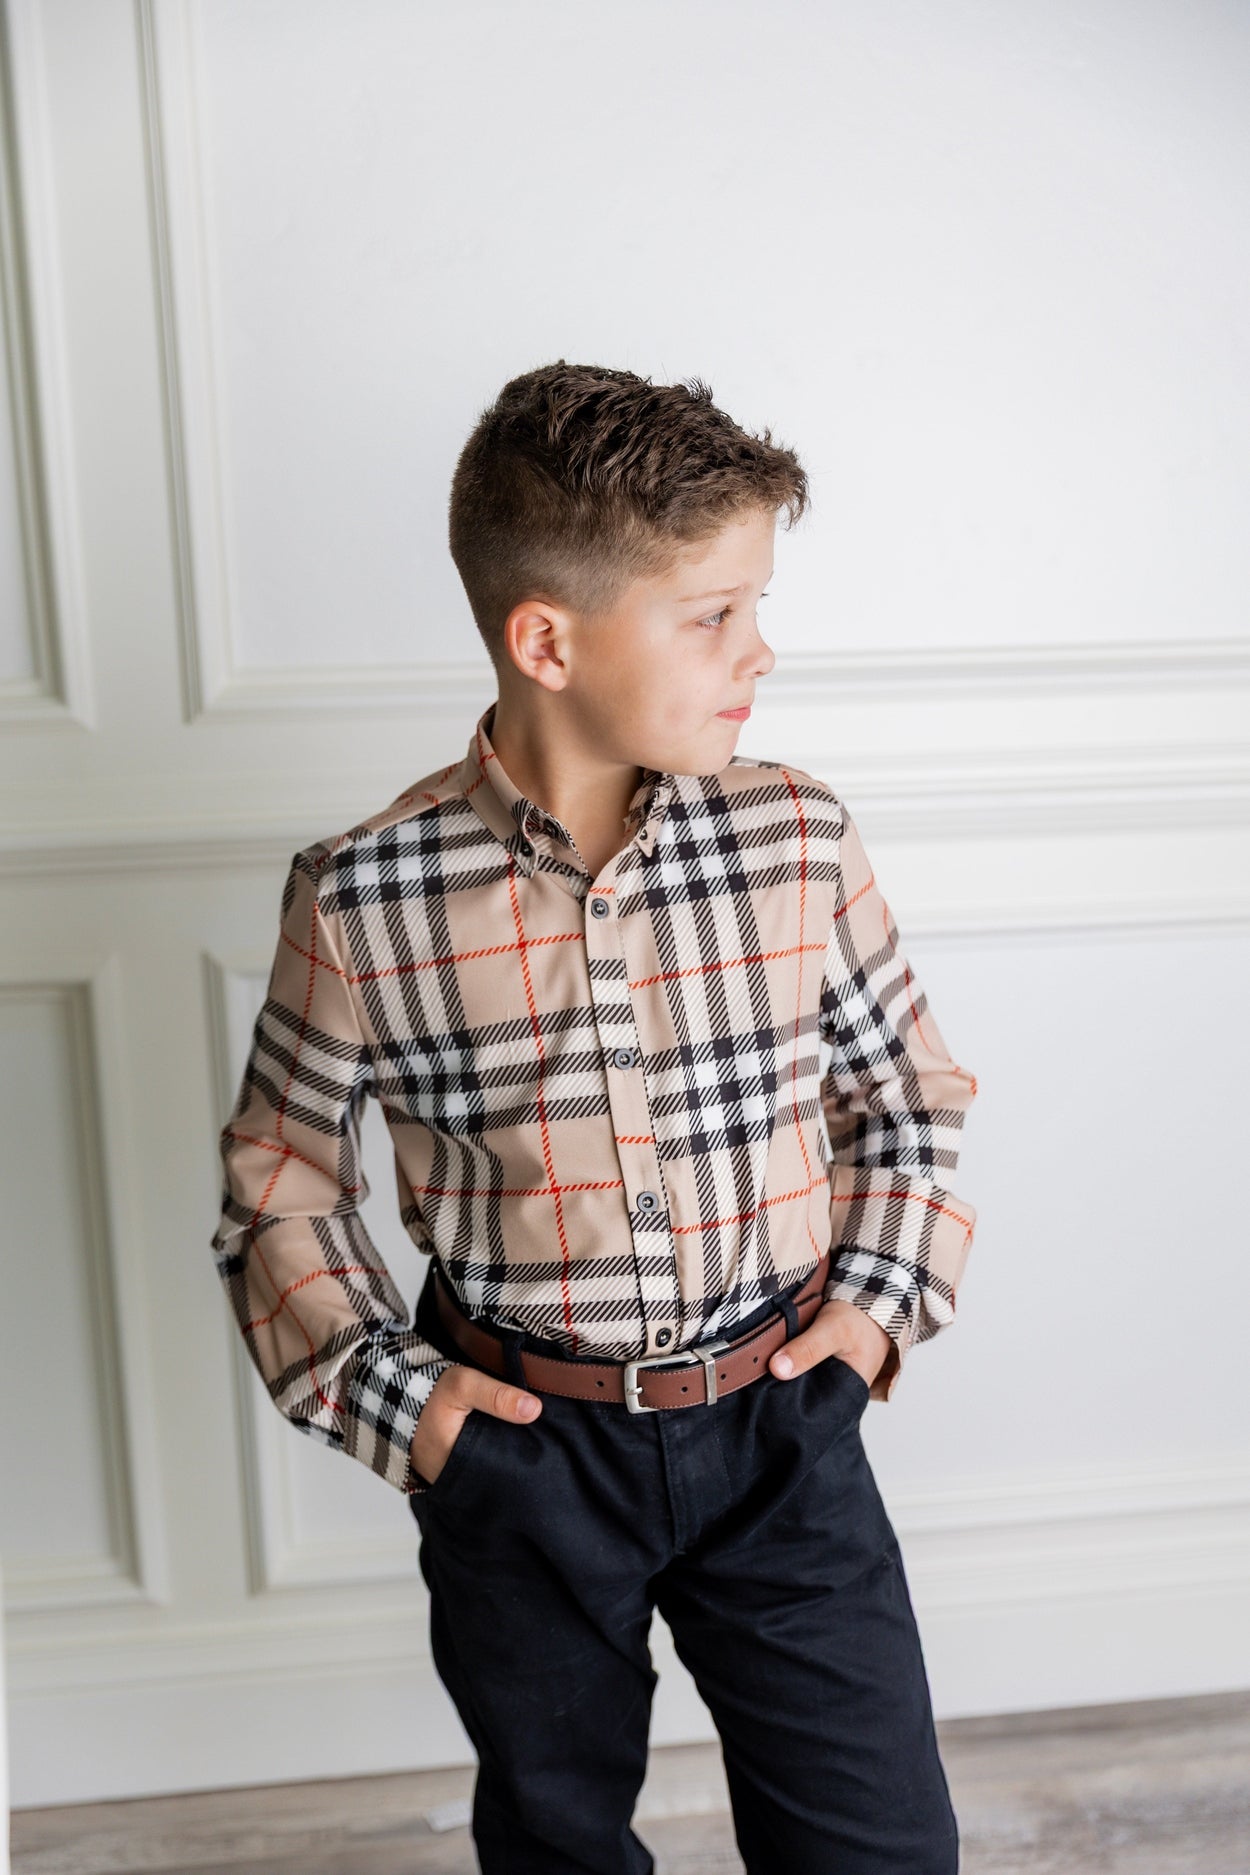
- Men & Boys Shirts
You’ll be able to create the full matching look either way.
I’ll also be linking my full YouTube video tutorial here so you can follow along step-by-step.
Materials Used
For this tutorial, I used 100% cotton fabric, which works beautifully for structure while still being soft and wearable. You can also use a variety of other fabrics.
You’ll need:
-
Sewing machine
-
Needle & thread
-
Hot glue gun
-
Metal headband (5mm preferred, 3mm works too). Here is a link to purchase on Amazon.
-
Pattern (CLICK HERE)
Fabric Pieces to Cut
Cut the following pieces according to your pattern:
-
Piece #1: Interfacing or felt backing (cut using the pattern shape)
-
Piece #2: Bow fabric – 18" x 5 1/4"
-
Piece #3: Band fabric – 16" x 5 1/4"
-
Piece #4: Knot wrap – 10" x 4 1/2"
-
Piece #5: (2) pieces of 2" length 5/8" width grosgrain ribbon

Step-By-Step Instructions
Step 1: Sew the Bow (Piece #2)
Sew the bow fabric longways “like a hot dog” using a straight stitch on your sewing machine.
-
Turn it right side out
-
Iron flat with seam in the middle (not on the side)
-
Fold both ends to the middle and overlap them slightly
-
Sew a straight stitch across the center to hold in place
You’ll now have a figure 8 bow shape.
Gather the center to create the bow shape. Using a needle and thread, secure the gathered middle so it holds its shape.


Step 2: Sew the Band (Piece #3)
Sew the band longways (like a hot dog) with a straight stitch.
-
Turn right side out
-
Iron flat with seam in the middle (not on the side)
Set aside.
Step 3: Sew the Knot Wrap (Piece #4)
Sew around the entire piece, but leave a small opening in the center so you can turn it right side out.
-
Trim the corners to reduce bulk
-
Turn right side out
-
Iron flat
-
Sew a straight stitch to close the small opening
This piece will later wrap around the center of the bow.
Step 4: Attach the Headband Base

Using your metal headband (5mm preferred), hot glue the felt backing (Piece #1) directly onto the band.
Thread the sewn band piece (Piece #3) over the headband and felt.
Both ends will remain open.
Using hot glue:
-
Press the ends closed
-
Pull them inward toward the middle
-
Slightly gather the bottom so the headband base becomes smaller and more fitted
Step 5: Finish the Edges

Use the two grosgrain ribbon pieces (Piece #5) to cover the raw edges at each end of the headband.
Hot glue into place and repeat on the opposite side.
Step 6: Attach the Bow

At the center top of the headband:
-
Add a small dot of hot glue
-
Press the bow into place
-
Add a small dot under each side of the bow to secure it
Step 7: Add the Knot Wrap

Take Piece #4 and wrap it around the center of the bow and headband.
Tie into a knot to finish the look.
And that’s it — your handmade bow headband is complete!

Not Feeling Crafty?
I completely understand — making 120 headbands reminded me just how much time goes into each one!
If you’d rather skip the sewing, we’ll have ready-made coordinating headbands available that match:
-
Matching prints from the Rachel Collection
They’re designed to perfectly coordinate so you can create a beautiful mommy-and-me look without lifting a needle.
There’s something so special about coordinating pieces — whether you sew them yourself or purchase them ready to wear. I can’t wait to see how you style your Rachel dresses and headbands for this release!
